Sabtu, 07 Januari 2012

Crispy Yam Nest / Crispy Taro Nest

Crispy Yam Nest / Crispy Taro Nest


Hi, I am back.
Today, I made Crispy Yam. Some people called it Taro or
Keladi in Bahasa Malaysia.
Every year without fail, my mother will make it for
Chinese New Year and it will be gone before the
end of the Chinese New Year.


1 Yam (519 g).
50 g Sesame Seeds.
50 g Rice Flour.
1/4 cup (6 ml) Water.
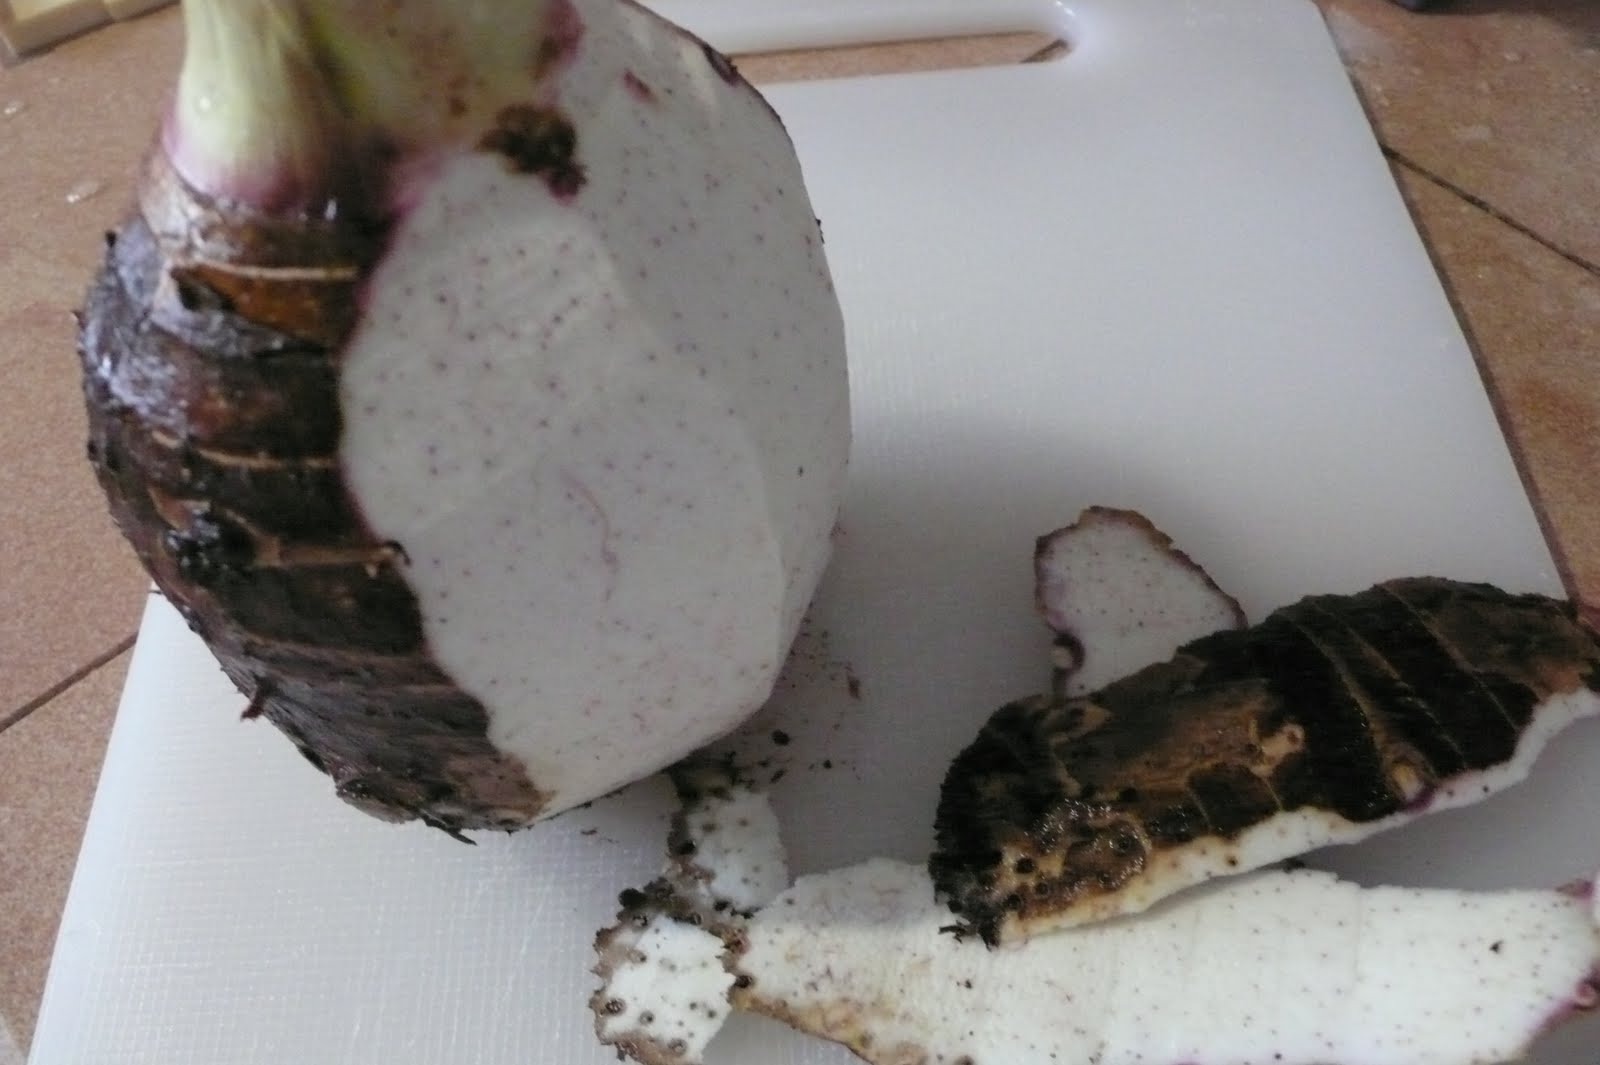


Wash the Yam, peel the outer skin and julienne.

(Note : PLEASE BE REMINDED not to wash the Yam
after you have julienne it. If not, your Yam will
become soggy)


I prefer to use knife to julienne the Yam because I can
control the thickness of the Yam. As my son said "Like a Boss"
After julienne the Yam, the weight is 407 g.

(Note : PLEASE BE REMINDED not to wash the Yam
after you have julienne it. If not your Yam will
become soggy.)


Mix the Yam with Sesame Seeds and Rice Flour until well combined.


You will notice that you can't see the Sesame Seeds.
Where is it? Well, it is hiding at the bottom.
Pour in 1/4 cup (6 ml) of Water and sprinkle 1/2 tablespoon of Salt,
then mix again until well combined.


With the water poured in, the Sesame Seeds will
stick to the Yam and Rice Flour.

(Note : Don't be too greedy with the Rice Flour......
your Yam will be hard as rock.)


Heat up cooking oil.


Make like a nest.


Push the Yam into the boiling oil with high fire.


Once the Yam slightly brown in colour,
then turn it over and fried further.
Keep on turning and turning until it is well fried.
Do not over fried because it will be bitter in taste.

(Note : Remember that once you have occupied the Yam
inside the pan, turn the fire into medium until the Yam is fully cooked.
Repeat from high fire to medium fire until finished.)


You will notice that the oil has 90% stop sizzling,
it's mean that the Yam is fully cooked.
Scoop it out and drain the oil by using paper tower.
Let it 100% cool before putting into container.


End result!


It is very crispy.....you won't regret it.
I have made two medium size containers and
I think it will be gone by end of next week.

Wishing all Chinese A Very Happy Gong Xi Fa Cai.
May this Dragon Year brings you and your family
with joy, longevity and prosperity.

Kamis, 22 Desember 2011

Tang Yuan (Glutinous Rice Balls)

Tang Yuan (Glutinous Rice Balls)

I remember my mother loves to make this Tang Yuan
(Glutinous Rice Balls) during Dong Zhi (Winter Solstice) Festival.
Today, is the Dong Zhi (Winter Solstice) Festival,
marking us one year older.
Nowadays, people are celebrating it lesser.
Hopefully, by another 20 years or more,
this Chinese tradition wouldn't evaporate into the thin air.
I am blogging this recipe to maintain this Chinese tradition forever
and ever.


180g Glutinous Rice Flour.
150ml Water or lesser.
1 piece of 'Pin Tong' (in Cantonese).
Few drops of Red Colouring.

(Note : You can purchase this Pin Tong from Sundry Shop.
It is sweet in taste.)


Get ready two pots with boiling water.


Get ready two plates and dust with some
Glutinous Rice Flour.


Pour the Glutinous Rice Flour into a bowl.


Pour 1/2 of the water into the Glutinous Rice
Flour and mix well.


If not well combined, pour again the water and
mix again.


Once the batter does not stick to the bowl anymore,
then it is done. If not, pour more water. If too sticky,
then pour more Glutinous Rice Flour.


Divide the batter into half.
Pour a few drops of red colouring into the other
half of the batter and mix well.


Now you have red and white batter.

(It is not really red....to me is pink colour....ha ha ha)


With spoon, scoop out 3/4 spoonful of the batter
and flatten it with your palm and fingers.

(Note : Make sure both of your palms and fingers are floured.
If not, it will stick to your palm or finger.)


Then, place some of the Pin Tong in the middle
of the flatten batter.


Then, roll into round shape.


Once rolled, place on top of the floured plate.
And repeat the same until all the batter finished.


1st pot - with boiling water, place the rolled balls
into the boiling water. Once it is floated on top of the
water, then it is cooked.


Once the balls floated on top of the water,
use a slotted spoon to scoop it out and then
place the balls in another pot of simmering boiled water
in order for the balls not to stick among one another.
Do it until all the balls have been cooked.
Turn off all the fire.


Get ready one pot of Ginger Water (Syrup).


With a serving bowl, pour in some of the
Ginger Water (Syrup) and place a few of the cooked
Glutinous Rice Balls and then serve either warm
or cold. The choice is yours.

Isn't it is 'ho sek' (in Cantonese) for delicious?

Lastly, from tomorrow onwards, I will be away for two weeks holiday
on and off with my family and won't be blogging any recipes
but will be back next year.

Wishing ALL
"HaPpY ChRiStMaS" & "HaPpY NeW YeAr"

Ginger Water (Syrup)

Ginger Water (Syrup)


3 Screwpine Leaves (Daun Pandan).
7 slices of Young Ginger.
90g Rock Cane Sugar (you can use Caster Sugar).
1,500 ml Water.


Boil the Water with the Screwpine Leaves and Rock Cane Sugar.


Once the Rock Cane Sugar has been dissolved,
put in the Young Ginger and boil another 15 minutes
with medium fire.
After 10 minutes, turn off the fire.
Leave aside.


Boiled Ginger Water (Syrup)......you can use it for
any desserts you desired.

Sabtu, 17 Desember 2011

Baked Chicken With Nando's Sauce

Baked Chicken With Nando's Sauce

Looks appetizing?

Last few weeks ago, while my family and I having
dinner at Nando's Mid Valley, I noticed a few customers
bought few bottles of Nando's sauces. Out of curiosity,
I asked the waitress, what to do with the sauce and
she kind enough telling me that I can use the sauce
to bake or stir fry chicken meat. So, I bought one bottle
of Nando's Garlic Peri-Peri Sauce.


One bottle of Nando's Garlic Peri-Peri Sauce.
(there will be balance, please put in the fridge)
2 Chicken Whole Legs (wash and drain).
2 Chicken Wings (wash and drain).
3 Potatoes (wash, drain, peel and cut).
3 Carrots (wash, drain, peel and cut).
1 handful of French Beans (wash, drain and cut).


Chicken Whole Legs and Wings
- Please poke with fork or knife in order for the
sauces to marinate deeply inside the chicken meat.


Cut those vegetables into desired size.


Marinate the chicken meat with
5 tablespoons of Nando's Garlie Peri-Peri Sauce,
2 tablespoons of Soya Sauce,
1/2 tablespoon of Pepper and
2 tablespoons of Honey.


Mix thoroughly.
Marinate for 4 hours or overnight.
I did it for overnight.


Pour in 2 tablespoons of vegetable oil or olive oil into the dish.


Then pour in the vegetables and mix thoroughly with the oil.

(Note : If you prefer your vegetables to be crunchy, you do this way BUT
if you prefer your vegetables to be soft, then you have to par-boil
your vegetables for less than 5 minutes.)


Put in all the chicken meat on top of those vegetables
and lastly, pour in all the balance of the sauces all over the
chicken meat and vegetables.
Bake at 190 Degree Celsius for 30 minutes.


After 30 minutes, take out the dish and
in order to cook further, again mix thoroughly the vegetables
with the sauces underneath and turn the chicken meat to the other side.
Remember to scoop those sauces underneath to coat the chicken meat.
If you don't do this way, your vegetables and chicken meat will be very dry.
Cook further 30 minutes.

(Note : Temperature and duration - All depends on the size of your oven).


Once done, take it out and serve immediately.


My son said it is very flavourful and the chicken meat very tender and juicy.
He said I should have cooked more!
Told him will make more when my husband is back from overseas.

Isn't it is easy to make? You should try it out!

I feel happy when my family is happy eating my cooked food.
To me, money cannot buy happiness.
:)

Jumat, 16 Desember 2011

Mince Pie

Mince Pie

Mince Pie, also known as Minced Pie,
is a small British sweet pie traditionally served
during the Christmas season. Without it, it is not Christmas.
I was introduced to this sweet pie by my ex-British boss
last 15 years ago. My family loves this sweet pie.
I read in the internet that it was started from as early as 13th century.


One jar of Mincemeat (in the USA, it is called Fruit Mince).
One egg (beaten).
Shortcrust Pastry (click here for the recipe).

(Note : Eventhough, it is called Mincemeat, there is no meat in it.
It is mixture of raisins, sultanas, apricots, glace cherries,
candied citrus peel, apple, various types of nuts and mix spices.)


Once your pastry has been cooled in the fridge
for more than 3o minutes, take it out and cut into half
on top of a floured table. Make sure your rolling pin
also floured.


Roll the pastry to the thickness of your choice.


With one sheet of pastry, place 1 or 2 teaspoons
of the mincemeat. (depends on the size of the pastry cutter).


Then, cover it with another sheet of pastry.


Cut it with your pastry cutter.
(Full moon design)


(Half moon design)


Close it, all round the pie, with your fingers.
Press firmly but not too firmly.

(Note : If not firmly, the mincemeat will spill out /
too firmly, the pattern will disappear)


Brush the pies with beaten egg.
Baked at 190 Degree Celsius for 40 minutes
or until brown.


You must make sure that it is totally cool,
if not the baking paper will stick to your pie.
You don't want that, am I right?


My daughter had the 1st try and said
the pastry is crispy and filling is rich.

Wishing all my family, friends, colleagues (far and near)
a Very Happy Christmas Day And
Happy New Year.


[I am submitting this Mince Pie to