Sabtu, 03 Agustus 2013

Double Chocolate Walnut Brownies

Double Chocolate Walnut Brownies
These brownies look horrible but it's a blessing in disguise!
My whole family and lovely bunch of colleagues said this is the best
brownies that they've ever tasted and some wanted me to post this
recipe up asap.  I am just flabbergasted. The pictures don't look too appetizing.
Am I right? Well, sometimes, we cannot judge the cake by its surface!
Thanks for Annie from Annielicious Food for the recipe.
Annie's brownies are cakey and chewy.  Mine came out more of a fudgy brownies.
Haish, I wanted her kind of texture but don't know why it came out differently.
Well, I think I need to bake this again to compare...if my family and
colleagues heard this, sure they will be jumping with joy.


200g Flour / 350g Caster Sugar / 80g Cocoa Powder /
2 Eggs / 1/2 tsp Baking Soda / 120g Semi Sweet Dark Chocolate Chips /
75g + 75g Butter (melted) / 70g Semi Sweet Dark Chocolate (melted) /
50g Chopped Walnut (lightly toasted) / 120ml Boiling Water /
1 tsp Vanilla Extract / Pinch of Salt (I omitted the salt)


In a bowl, combine cocoa powder, baking soda, 75g melted butter 
and boiling water.  


Stir until mixture thickens.


Add in caster sugar, eggs, melted chocolate and remaining 75g 
melted butter.  Stir until mixture turned smooth.


Add in flour, vanilla extract and mix until well combined.


Add in 1/2 portion of chocolate chips and 1/2 portion of toasted walnuts.


And mix until well combined.


Pour the batter into a lined baking pan.


Sprinkle the balance of the chocolate chips and toasted walnuts
on top of the batter and bake at 180 degree celsius for 40 minutes
(depends on your oven).

(Notes from Annie : Bake until the brownies begin to pull away from
sides of pan.  Brownies are done when pick comes out with a few moist
crumbs still clinging.  It is okay for the pick to look moist, but if you see
wet batter, keep baking)


Once baked, cool completely in pan on wire rack.  Once brownies 
completely cooled, cut into squares and serve.


Looks horrible but taste is super delicious.
:)


I am submitting this to the Little Thumps Up "Egg" event organized by


Jumat, 02 Agustus 2013

Apple Pie Filling

Apple Pie Filling
My "wai sek" (like to eat) daughter has been bugging me for a few weeks 
to make apple pie for her.  Last weekend, when my husband, daughter and 
I were at McD Drive Thru to buy late supper for our son, she keep on poking
at me to bake apple pie for her.  She added that one of her best friends, Fiona
wanted this recipe....is it coincidence or what?  At the end, I gave up and 
bake for her the next day.  Well, this recipe is to show you how to make 
the apple filling. So, please bare with me a few more days to load how 
to make apple pie with this apple filling.


4 Green Apples / 20g Butter / 1 tablespoon **Cinnamon Powder /
70g Brown Sugar / 2 tablespoons Corn Flour.

** (Note : I like cinnamon powder, thus I put 1 tablespoon and
if you prefer not so strong of cinnamon, by all means lessen it)


Peel off the skin and dice or slice the apple. Choice is yours.


Add the diced apple, brown sugar and butter into a pot and cook at a 
medium fire.


When you notice the brown sugar and butter has melted, 
taste the sweetness of the filling and add more brown sugar, if necessary.


For me, I added extra 10g brown sugar.  After cooking a while,
you will notice the water ooze out from the apple.  Turn the fire to low.


Then add the cinnamon powder and corn flour and stir until well done.


Once the filling thickens, turn off the fire.


Isn't it is delicious looking?


Kamis, 01 Agustus 2013

15 Minutes - Stir Fry Four Angle Beans, French Beans and Long Beans

15 Minutes - Stir Fry Four Angle Beans, 
French Beans and Long Beans
My family love this dish, especially my daughter.  She can eat half of this plate.

I am in my late 40s and my daughter is 20 years old.  Whenever my dear
daughter wear a short skirt, my husband will comment "why is your skirt
so short?"  I kept quiet because I know the skirt that she's wearing
belongs to me.  Yeap! you must be in shock that I am still wearing short
skirt. But, it was mine when I was a young adult and I had some 
branded short skirt which I've kept until now (did not throw away because it 
brings me good memories....those were the days).
Sometimes, I'll say to my husband "it's not that short lah, let her be lah, 
as long as the hem of the skirt is not at her butt.  It is short but not mini lah!" .  
My dear daughter asked me "why is daddy complaining when mummy 
wore like that?"  Told her that you are daddy's daughter and 
he doesn't want perverts looking at you lah. LOL   :)
She must be in the confuse mode, Daddy allowed Mummy to wear but
but not her.  For me, I cannot stop her totally because I am also the culprit.


**One handful of Four Angle Beans. (Trim off the side, wash and drain)
**One handful of French Beans. (wash and drain)
**Half handful of Long Beans. (wash and drain)
3 Chili Padi. (wash and drain)

**(Note : cut to your desire sizes and length)


Heat up the wok with cooking oil.


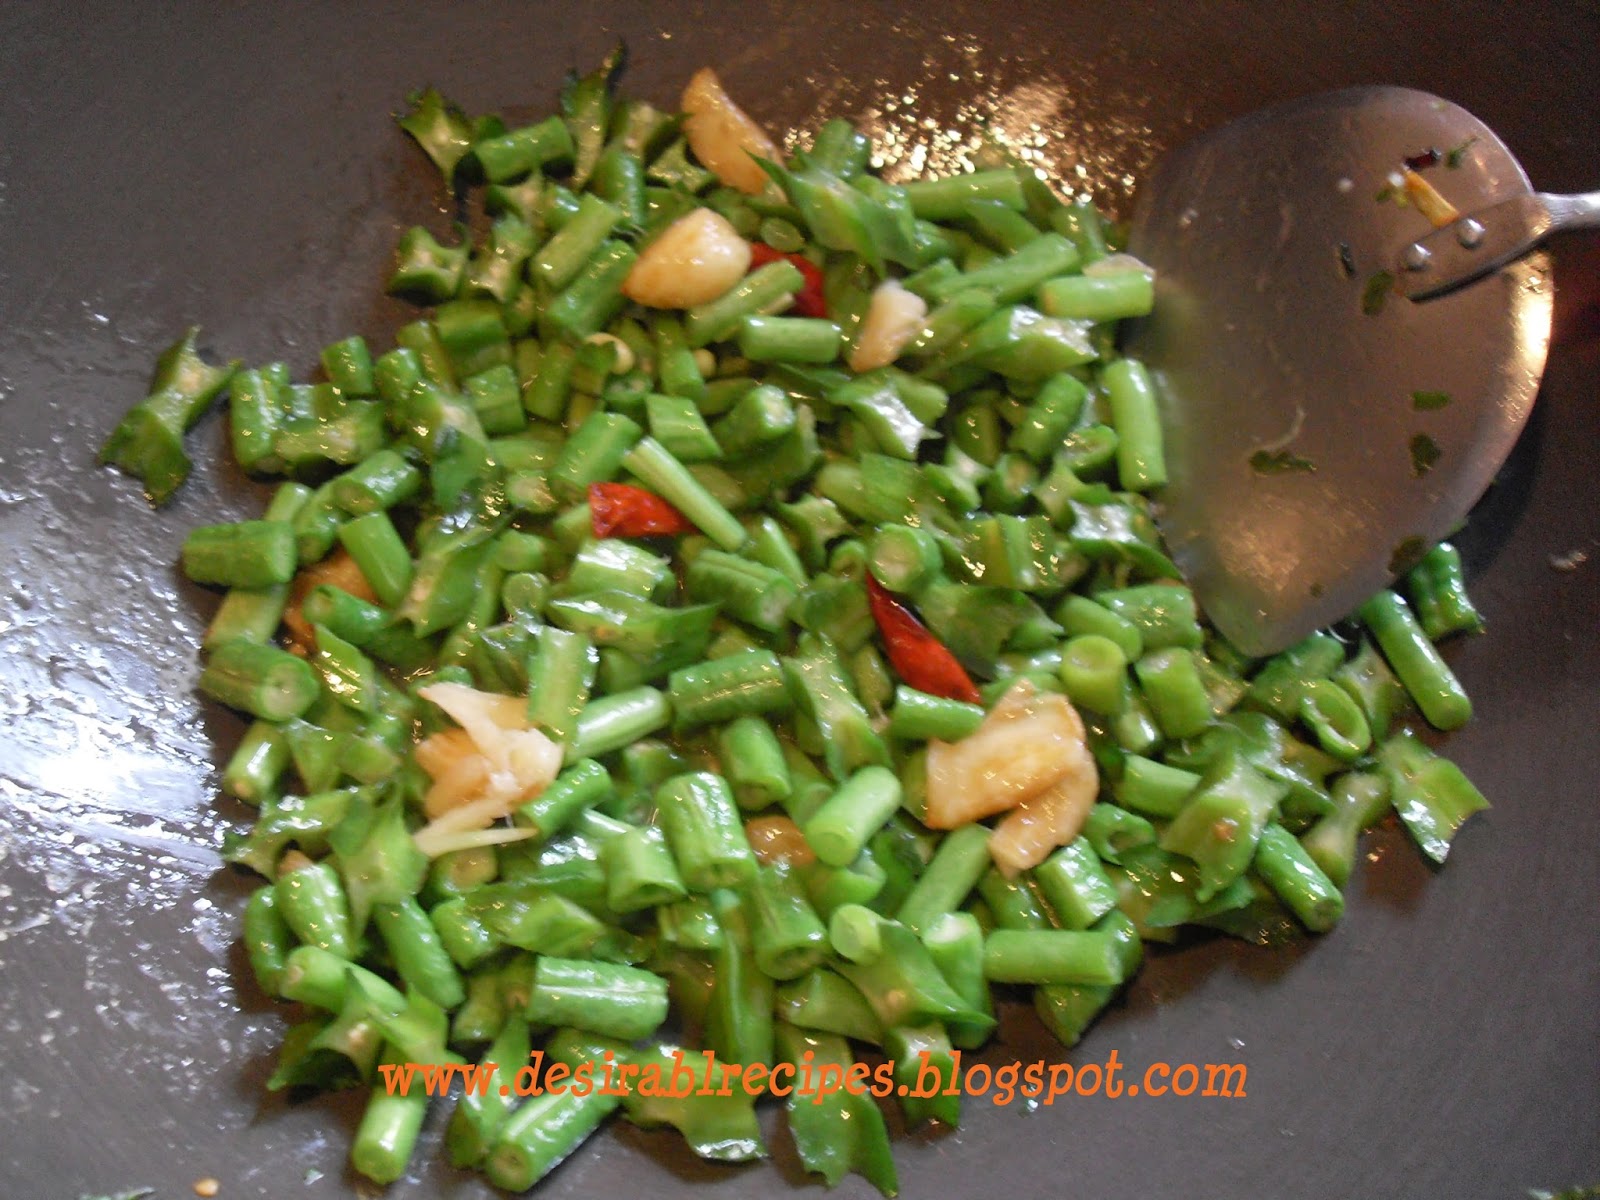
Add in few cloves of garlic and the chili padi and stir fry a few second.


Once your garlic is brown, add in all the cut vegetables.
Stir fry a few minutes or until half cook.
(if you notice the vegetables are a bit dry, add in one tablespoon
of water and stir fry further)


Add in 1/2 tablespoon of chicken stock and stir fry further.


Once the vegetables are cooked, turn off the fire.
Dish out onto serving plate.


Now you have one healthy dish for your whole family for lunch or dinner.
Happy Cooking & Eating.


Jumat, 26 Juli 2013

Grilled Lamb Shoulder

Grilled Lamb Shoulder
Our whole family love to eat lamb. Don't you?
This recipe was taught by our family friend's wife.
We were at their house for a birthday party and one of the dishes were 
Grilled Lamb Shoulder and everyone over there loves it so much and 
I quickly ask for the recipe and without hesitation, she told me the recipe and 
she even offered to buy the cut lamb for us because she said she knows 
the shop who can slice the meat into very thin slices but I declined because 
I know it will be troublesome for her.  
Thanks to Ah Lian for the recipe.

This recipe was given to me without any measurements, thus
I agak-agak (rough estimate only) and it turned out delicious.  
So, eventhough without any exact measurement, please don't be put off 
because I know you won't regret eating it.


Few slices of cut Lamb Shoulder (cut off the excess fat, wash and drain).
1 cup of BBQ Sauce.
**5 Shallots (peel off the skin and cut into half).
**2 Ginger (scrap off the skin, wash and roughly chop).
1 tablespoon Pepper.
1 tablespoon Chicken Stock. 


** Blend the Shallots and Ginger until fine.


Squeeze out the liquid from the blended paste.


Add in the pepper and chicken stock into the liquid.


And stir until well combined.


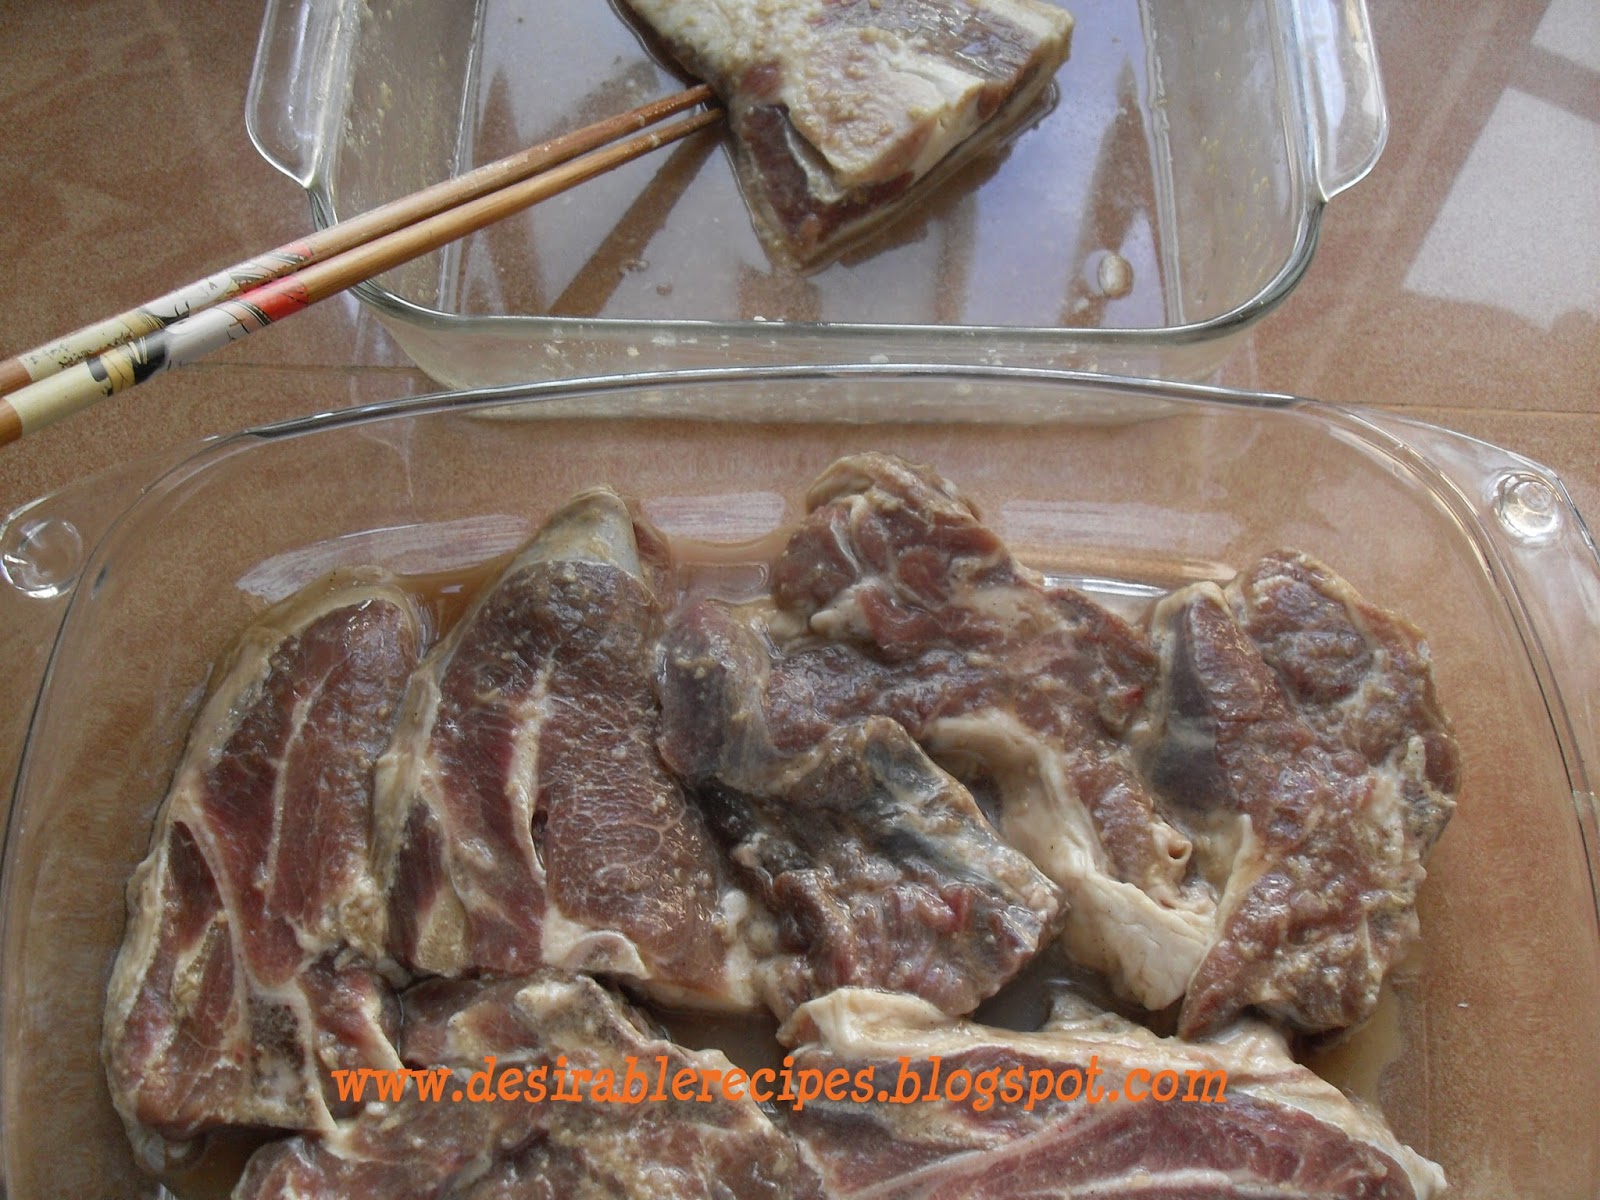
Add in all the lamb shoulder and marinate for 4 to 5 hours.
Better if overnight.


Once marinated, transfer the lamb shoulder to another dish.


Add in the BBQ sauce.


And rub the BBQ sauce all over the lamb shoulder and marinate
another 1 hour.

(Note : When you are marinating the lamb shoulder, please remember
to put into the fridge and not in open air.)


Cover the dish top with aluminium foil and grill for 1 hour.


After the 1 hour, take off the aluminium foil and turn over the Lamb Shoulder 
to another side and grill further another 1 hour or until done.


The Grilled Lamb Shoulder is so flavourful with the ginger, shallots
and BBQ sauce and it is lip smacking!


I am submitting this post "Grilled Lamb Shoulder" to
Little Thumbs Up organised by Doreen from My Little Favourite DIY and


Senin, 22 Juli 2013

Meal 1 - Rice, Pan Fried Dried Bean Curd with Fish Paste And Stir Fried Cabbage with Dried Shrimp

Meal 1
Rice, Pan Fried Dried Bean Curd 
with Fish Paste And Stir Fried Cabbage 
with Dried Shrimp


Once in a while, we do not know what to cook or bake.
Am I right? 
The truth is that I bake more than I cook.
I do not have to worry what to cook from Monday to Friday
because my dear mother still cook for us.  Either my husband or
one of my kids will drop by at her house at a specific time to collect our 
food.  All those food cooked by her will be put in a tiffin except for the
rice and soup which will be put in a warmer.  I cook only during weekends
or public holiday and it also depends on my moooood.  
HahaHa, so bad of me, I just wanted to relax and lazy around during
weekends after my hectic working life from Monday to Friday.
Well, so far, no complaint from my family but I feel that they are
happy if I cook for them.  

If you like the above two dishes, just click below for the recipes.


Bon Appetit!

Minggu, 21 Juli 2013

Corn Pudding (Puding Jagung)

Corn Pudding (Puding Jagung)
I believe all Malaysians have tasted this dessert.
I have been making this dessert since I was teenager.
Simplest thing to make and it's simply delicious!

Yesterday night at around 11.00 pm, my daughter told me that she will
be attending a pot luck steamboat party this evening with all her ex school friends and
everyone have to bring some food and she was given the task to bring the dessert.
I said, why are you telling me last minute?  
As usual lah, she will blur blur looking at me with her innocent look.

So, early in the morning, I embarked on my trip to the bakery shop (15 minutes
drive) from my house to buy all the ingredients to make this Corn Pudding).
At the end, with my daughter's smiley face going to the pot luck, 
it brings me happiness even though it is a last minute cooking 
because I know her friends and herself will be happy eating those foods, 
drinks, desserts and especially those chit chatting after so many months of 
not meeting because of college life (far and near).


2 cups of Cream Style Corn
3 cups **Evaporated Milk
6 cups of Water
2 cups of Custard Flour
1 1/2 cups Caster Sugar

(** Note - To avoid wastage and availability of ingredient,
I use 2 cups of Evaporated Milk and 1 cup of Whipping Cream.
The end result is still good but sweeter a bit)


Pour all the ingredients into a cooking pot.


Stir until well combined and no lump.
Then turn on the fire to medium and let it boil.
Occasionally, you have to stir it to avoid burning the custard.
Remember.....not to leave it unattended.


Once you notice it is slightly thickened, turn the fire to low and
remember to keep on stirring to avoid burning the custard.


With your finger, draw a line on the back of the ladle, shown above 
and if it is not covered back by the custard within second, then it is cooked.  
Quickly turn off the fire.


Pour the custard into tray and let it cool at once side.
Once cool, put into the fridge to chill for more than 5 hours.


I can't stop my hand from taking it to eat while I was cutting it.
It is one of my favourite desserts.

Hope those friends of my daughter will enjoy my dessert!